Chapter 2 (How to use aci PART - 1)
By the end of this chapter , you will be able to do the following :
Select a Board
Open your terminal and type aci.
You will be greeted with this page

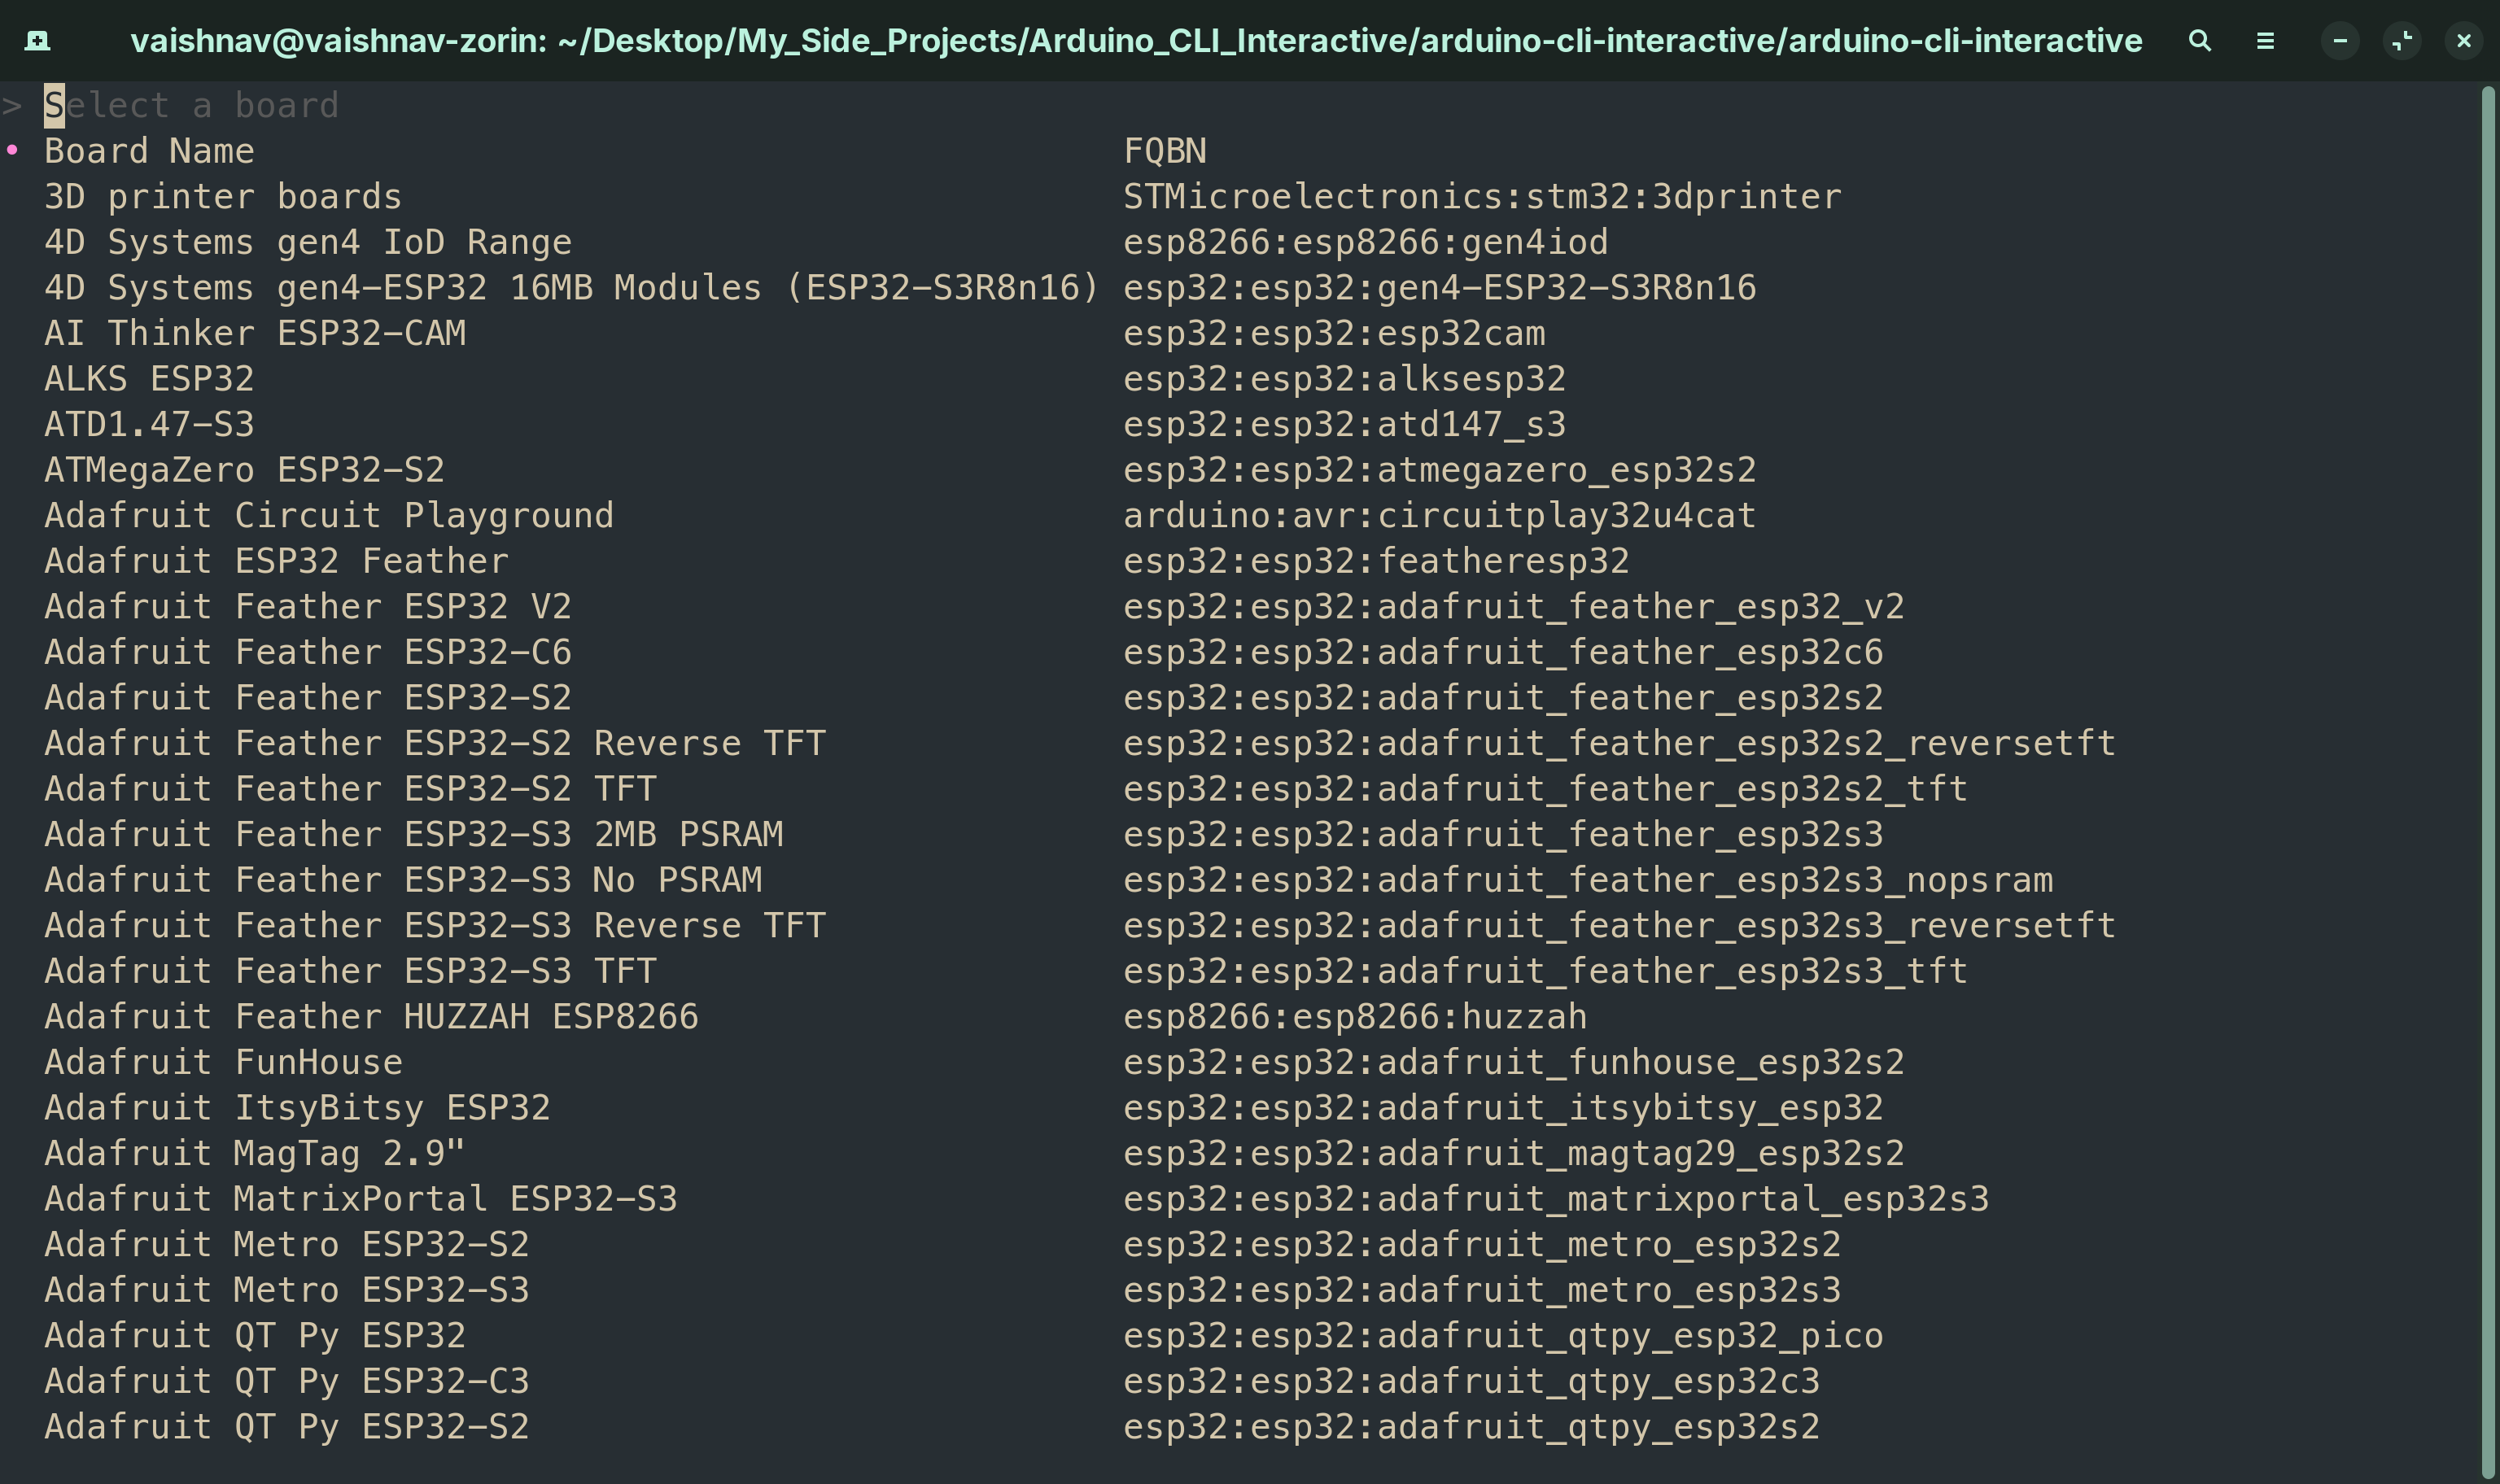
Press Enter to enter the Board Selection Menu :

Type the Board Name you want to use and press Enter.
Then a confirmation dialog box will open asking you to confirm the board you chose.
Check the following GIF to see it in action.
For example , let's use an Arduino Nano that is connected to my system ,

Once you have selected a board, you can see the Board name and FQBN (Full Qualified Board Name) just below the "Welcome to arduino-cli-interactive" sign like so

Create a New Sketch
A sketch is a file with the .ino extension in which you will write the code to upload
to the board.
To create a new sketch , first navigate to the directory you want the sketch to be in , in the terminal , run the aci command , select a board and then use the
Down arrow key to move down to the next option which Create a New Sketch and press Enter.
This will then bring up an Input box where you can enter the name of your sketch.

Congrats , you have created a new sketch using the command line.
Edit a Sketch
After creating a new sketch , let us add the code to be uploaded to the board.
We will create a basic LED Blinking program to blink the inbuilt LED of the board every 1 second.
Before we get into editing the sketch , copy the below program :
const int ledPin = 13;    //Depends on the board , for Uno and Nano it is pin 13

void setup() {
  //This function will run only once when the board boots up
  pinMode(ledPin , OUTPUT);  //Setting the ledPin as OUTPUT
}

void loop() {
  //This function runs infinitely until it is stopped
  digitalWrite(ledPin , HIGH);   //Turn ON the LED
  delay(1000);     //1 second delay
  digitalWrite(ledPin , LOW) ;  //Turn OFF the LED
  delay(1000);     //1 second delay
}
Now , let us go to the terminal where aci is already running and then open the sketch MyFirstSketch ,
we created previously.
Make sure you have selected your board and the sketch has been created.
Now navigate to the Edit the Sketch option using the Down arrow key and press Enter.
This will bring up a file picker throuh which you can navigate using the arrow keys to find the folder in which the sketch is present.
Once you find the folder , press Enter , you can then see the .ino file in the file picker.
Press Enter again and you will see a choice picker to pick your preferred editor. I will be using NeoVim as my main editor. You can choose whatever editor feels comfortable to you.
NOTE :
Make sure you have any one of the following editors installed :
Select the editor of your choice.
You will now be able to edit the file. If you are opening the file for the first time , you will be greeted with this code
void setup(){
  //Run only once when the board boots up
}

void loop(){
  //Run infinitely until stopped
}
This is the default boilerplate code of any Arduino file.
There are 2 functions setup() and loop().
setup() runs only once. It runs when the board is switched ON.
loop() run infnitely until it is stopped by switching OFF the board or by an interrupt.
In the example code that was given , we can see that we have defined the constant
ledPin as an Output in the setup() function and toggled the LED in the loop() function.
You can paste the example code by deleting the default contents of the file and then pasting the given code.
Then you can save the code and exit the editor.
You will then be asked if you want to preview the contentns of your file to check for any kind of mistakes.
Choose YES or NO by navigating between them using arrow keys.
To quit the preview , press q on your keyboard.

NOTE :
Each editor has different shortcuts to save and exit a file
- Vi/Vim/NeoVim/Helix :
:wq - Nano :
Ctrl + S , Ctrl + X - Micro :
Ctrl + S , Ctrl + Q - Visual Studio Code/VSCodium :
Ctrl + S , Alt + F4